Table of Contents
picoPrint 3D Printer
Every Hackerspace or FabLab needs manufacturing capabilities in order to dramatically increase the edge of research and development possibilities. Where ever we go or whatever technical problem we might encounter, we can just build the parts we or others need to solve that problem. So, in the end of 2013, we had another look at the 3D printer market and a lot seemed to have happened since the RepMan. Almost all major tinkerer suppliers had some form of 3D printer to offer ranging between 600-900 Euros. We finally found the perfect basis for our picoPrint 3D Printer Robot project: The FELIXrobotics Felix 2.0/3.0 3D printer DIY kit. It was important to build the robot from the ground up, to fully understand each part of the machine, to get much more confidence while hacking it later.
Live Camera Feed
FELIXrobotics Felix 2.0/3.0 DIY Kit
To us, the framework, linear bearings and electronics of the Felix seem to be the most robust and smartly integrated 3D printer components on the market today, compared to the usual approaches. If we had to design and build a 3D printer completely on our own, it would have resembled the Felix closely in many aspects, like the extruded aluminium profiles for the frame and high quality HIWIN linear bearings for every axis. Considering the price of the components to build a similar 3D printer from scratch, the price of the Felix DIY kit offered the best price performance ratio and FELIXrobotics generously decided to become a sponsor with a non-profit kit. After working with our Felix 3D printer over a couple of months, we can say that our hopes have been far superseded, in short conclusion:
- Sturdy extruded aluminium profile frame
- HIWIN linear bearings on all three axis
- Heated bed with heatspreader
- Very high re-positioning accuracy (high-quality prints)
- Built as simple as possible (reliable & easy access/maintenance)
- Bed Size: 269 x 299 mm
The printing quality is astonishing, we had expected way more problems/failures and the additional degree of freedom to be able to print actual 3D parts, which can be used not only for prototyping but to actually become the final productive part in another project or to bootstrap new robots has opened a whole new dimension in local, small volume fabrication for us. Not to mention the added freedom and independence from upstream industrial products. We can create, download, improve and share all of our open-source models via internet for free on places like thingiverse and then just print them.
Felix 2.0 Mechanics
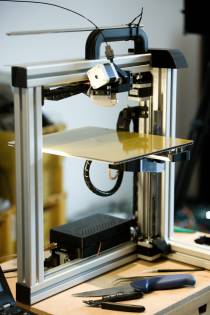
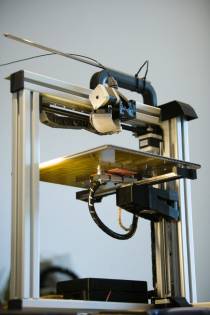
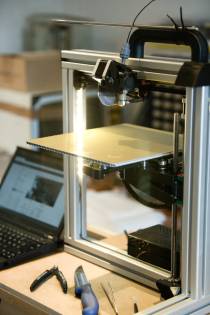
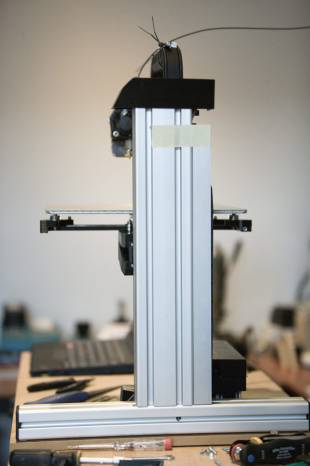
The Felix's open-frame extruded aluminium architecture accommodates modifications and additions perfectly, yet it is rigid enough to produce high quality prints with very large, even overhanging objects, printing for more than 12 hours.
We've done the 3.0 update, which replaced the self-printed parts with even higher quality parts. But it's good to know that it works reliably with the self-printed parts as well. FELIXrobotics also has the part files of their printers online, so you can print your own spare parts. More pictures will follow soon.
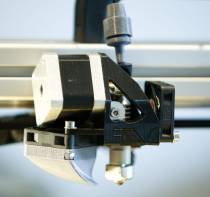
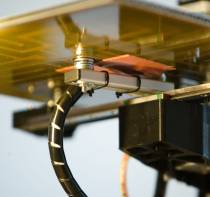
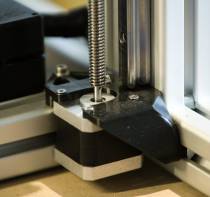
A few more details of the head and extruder assembly (left), the heated bed and heatspreader assembly on the y-axis (middle) and the z-axis stepper motor with chassis mount and trapezoidal spindle assembly (right).
Felix Controller Board
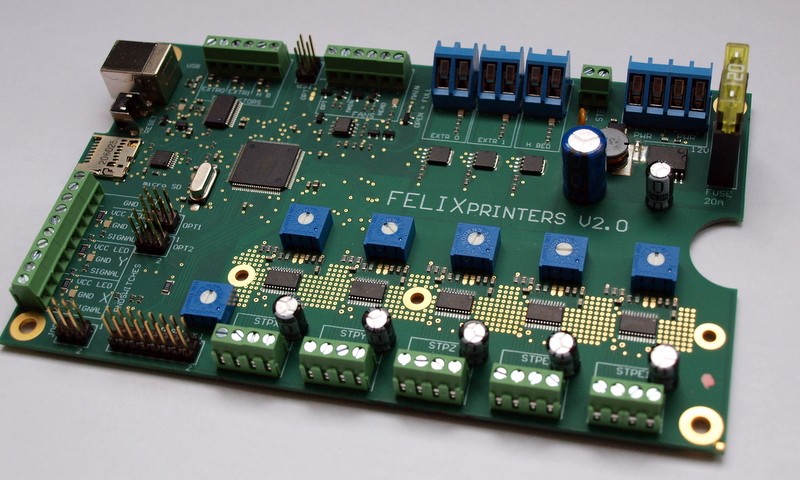
The Felix Controller Board is a custom development of FELIXrobotics and cleans up the somewhat messy/bulky Arduino, RAMPS board and stepper motor driver board assembly we often see in DIY 3D printer setups. The board basically contains all of the components used in RAMPS kits, neatly and tightly integrated onto one PCB. FELIXrobotics also sell just the board itself, so people who want to build their own printers can use this tidy, all integrated electronics board. In terms of our picoPrint Robot, this is the central nerve system, connecting and controlling all of our low-level sensors and actors. All we have to do is to connect a brain to this nerve system to get a robot we can interact with on a much higher level.
Hacks & Extensions
In order to turn the base machine into the picoPrint 3D printing robot we desire, a number of hacks and extensions have been done and are still in progress:
Cable Management
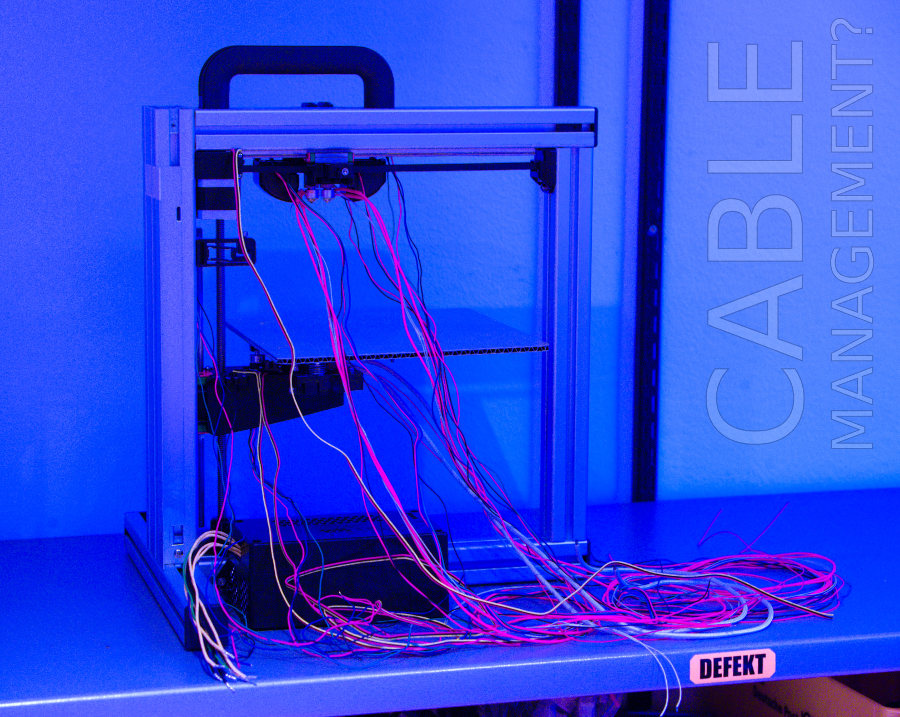
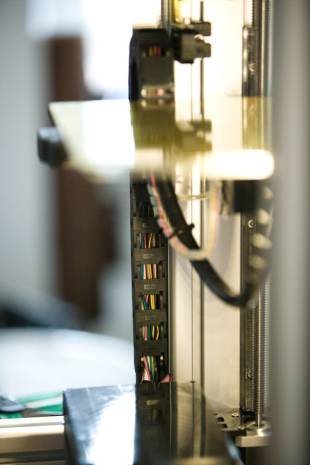
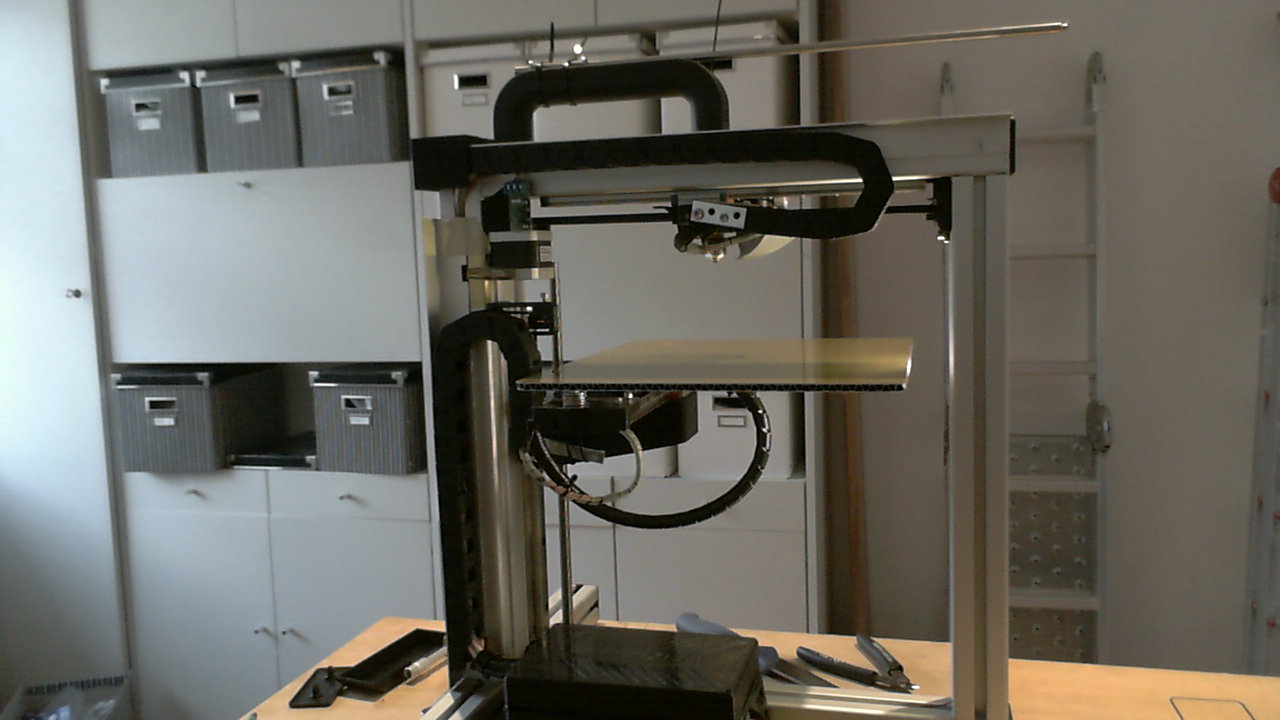
We've disregarded the original Felix assembly instructions about cable management and used two 15x15mm energy cable chains we got from ebay and two 25x25mm aluminium L-profiles which act as chain guides. Igus also offers zip-lock type cable chains which will be sourced as well to see if that makes it even more simple, because they can be opened/filled in place.
The key for this approach is to align all cable outlets either directly into the t-nut slots or - when moving - to the backside, so they can be put into the cable chain for each axis (for 3.0 x,y,z). For the head, all cables move below the carrier/mount to the backside into the cable chain.
This easy hack gives the printer a way more professional appearance, when only very few cables are visible and the ways in which the cables move are constrained and predictable which should help with resilience and endurance. It also leaves the top of the printer completely free for filament supply lines to move unobstructed with the head.
Printing-Bed (Y-Axis) Hacks
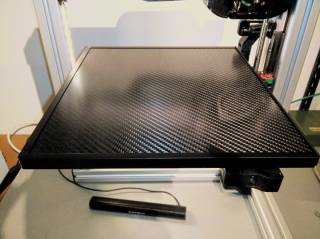
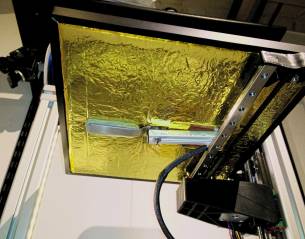
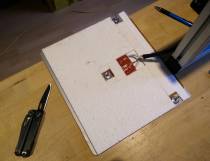
For the duration of the Felix 2.0 lifetime of our 3D printer, we've used only Kapton-Tape (yellow) as a printing surface. With the 3.0 re-assembly process, two hacks were introduced to improve performance, handling and efficiency and to test/document how certain materials perform, so others may apply them to their printers or any other somehow related project. The bottom of the heating element is covered by a heat-shield now and the top of the heat-spreader is covered by carbon plate, to test the material's durability as a printing surface.
Heat-Shield
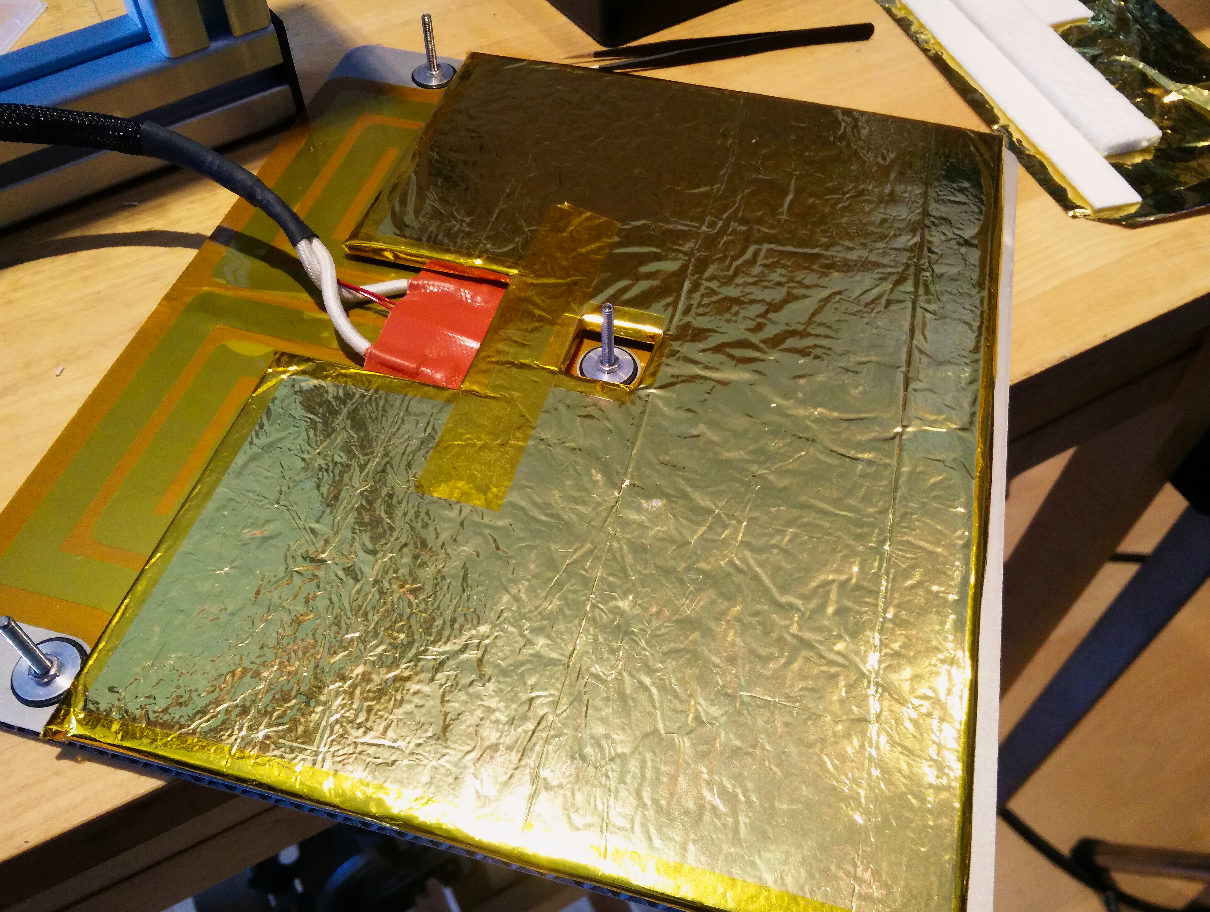
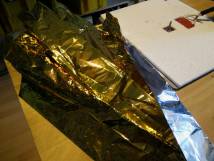
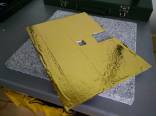
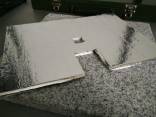
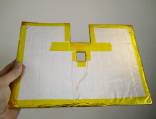
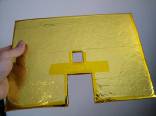
The bottom of the hot-bed has been fitted with a hacked composite material sandwich insulation - made of Insulfrax felt, aluminium foil (household type) and metallized polyethyleneteraphthalate (MPET) foil (cheapest source: Rescue Blankets silver/gold) which also has been used successfully as insulation for the picoJet heating element. This heat-shield approach adds only very little physical mass to the Y axis so movement agility and acceleration lag penalties are kept minimal but it significantly reduces the amount of energy lost to the surrounding air on the bottom.
This rather simple hack decreased the necessary printer warm-up time and increased temperature stability which reduces the risk of warping/curling/lift-off issues while printing bigger parts and yields higher Z layer positioning accuracy while reducing power consumption at the same time, especially during very long prints. How this performs in the long run will be documented when enough prints have run through.
Lessons learned:
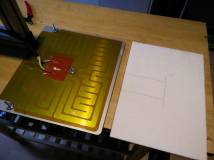
Insulfrax felt and paper are extremely easy and precise to cut with a good knife. If you intend to copy and adapt this approach using Insulfrax as main insulation material, you can just cut out the square hole in the middle directly without making the bigger cut (to get the u-shape) first and then filling up the gaps with separate smaller elements like shown in the pictures above.
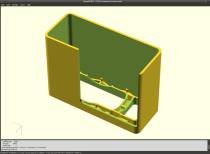
New Main-Column Cover
Electronic Components
Since it was undesirable to print from SD-Cards or having to install software on clients, which would need to remain with the printer while processing jobs, the Felix has been rigged to become a fully autonomous and web-enabled 3D printing robot, we may use, control and monitor from any laptop, tablet or mobile phone, from anywhere.
The design and structure of the brain and nerve system of this robot are a cybernetic rip-off of nature: Basic human design. There are a couple of low-level muscles (motors/actors), tactile sensors (end-stops), environmental sensors (extruder + bed temperature) and energy conversion systems.
These are connected to and controlled by the ATMega2560 microprocessor on the electronics board, which acts as a cerebellum, which is trained (calibrated) specifically to move its actors and control all converters and heaters as precisely and as close to real-time as possible.
All high-level functions like seeing (webcam) and user-level control & communication are handled by an embedded GNU/Linux board, which acts as cerebrum to conveniently host, maintain and access other open-source software components and offer networking out-of-the-box as well as a lot of flexibility. Many high-level features can be done in software, which replicates much faster in an all open-source environment.
Although we love the Raspberry Pi and already have a few projects featuring it, this robot called for a little more computing power, multicore architecture, 1G RAM and more GPIOs, SPI, I2C etc. which will become even more useful for future feature extensions.
Cubieboard2
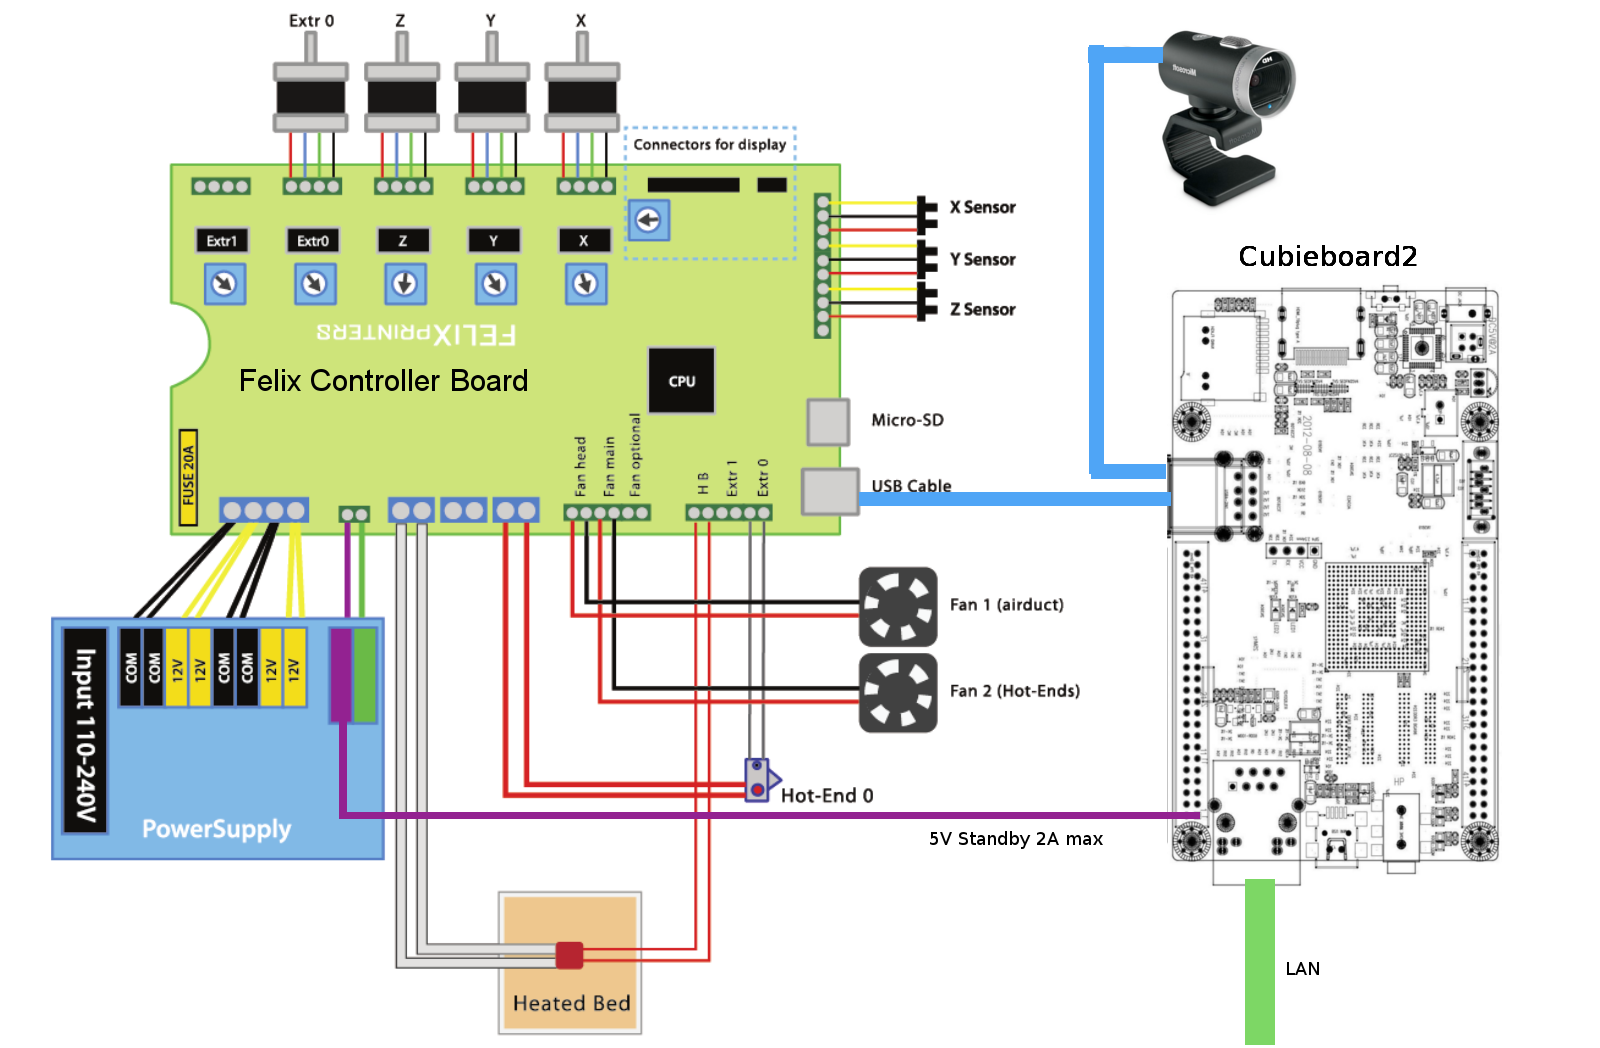
The whole 2.0 duration of the setup was run on a Cubieboard2 as basic underlying embedded Linux board for high-level interaction. Experience has been ok, timelapse rendering took still a considerable time though.
Odroid C1
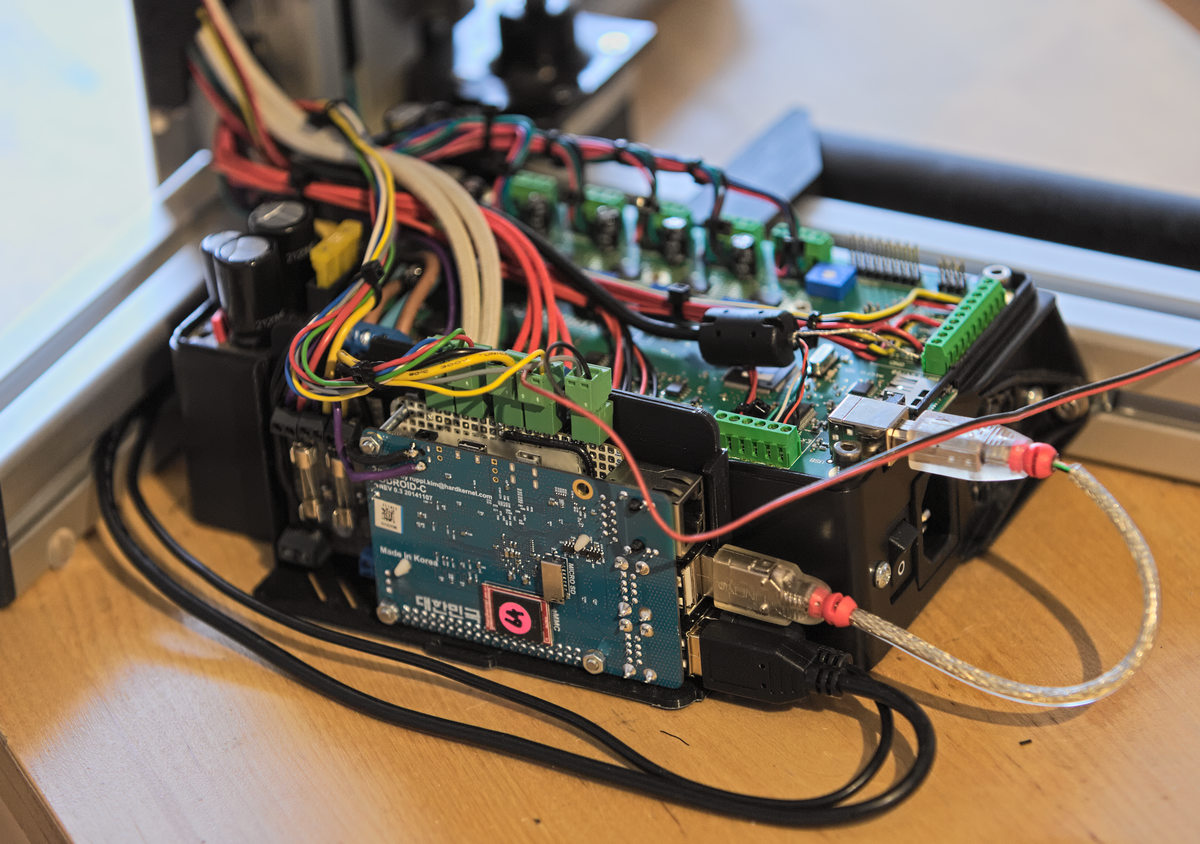
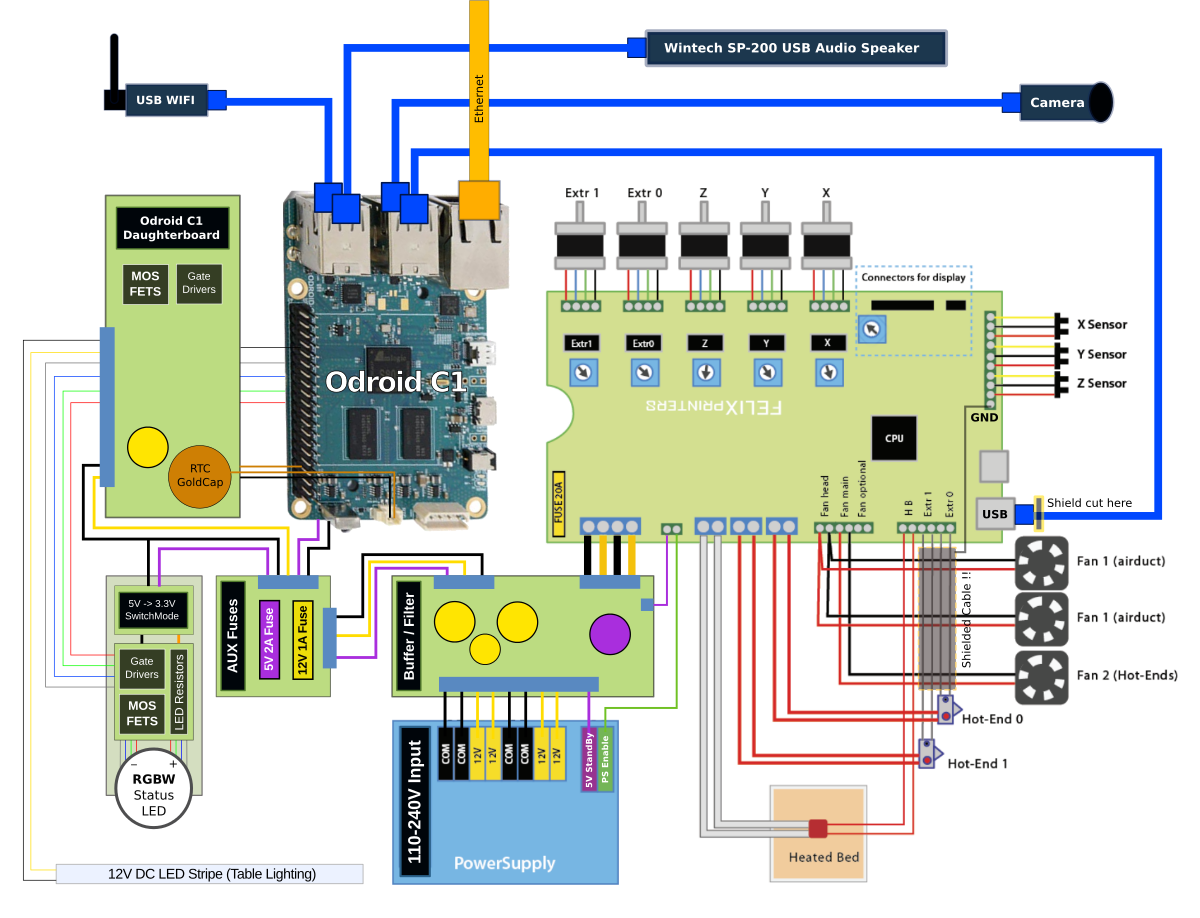
With the 3.0 dis- and reassembly process the Cubieboard2 was replaced by an Odroid C1 Quad-Core ARMv7 (Cortex-A5) Board. Since the Odroid directly comes with 4 USB Ports the necessity for a separate USB-Hub fell away, not to mention the added I/O boost eMMC gives. With a custom, stripped down kernel and gentoo as OS, the cold boot time until octoprint is ready to use, is about 14 seconds (2s kernel + 12s init+dhcp+services).
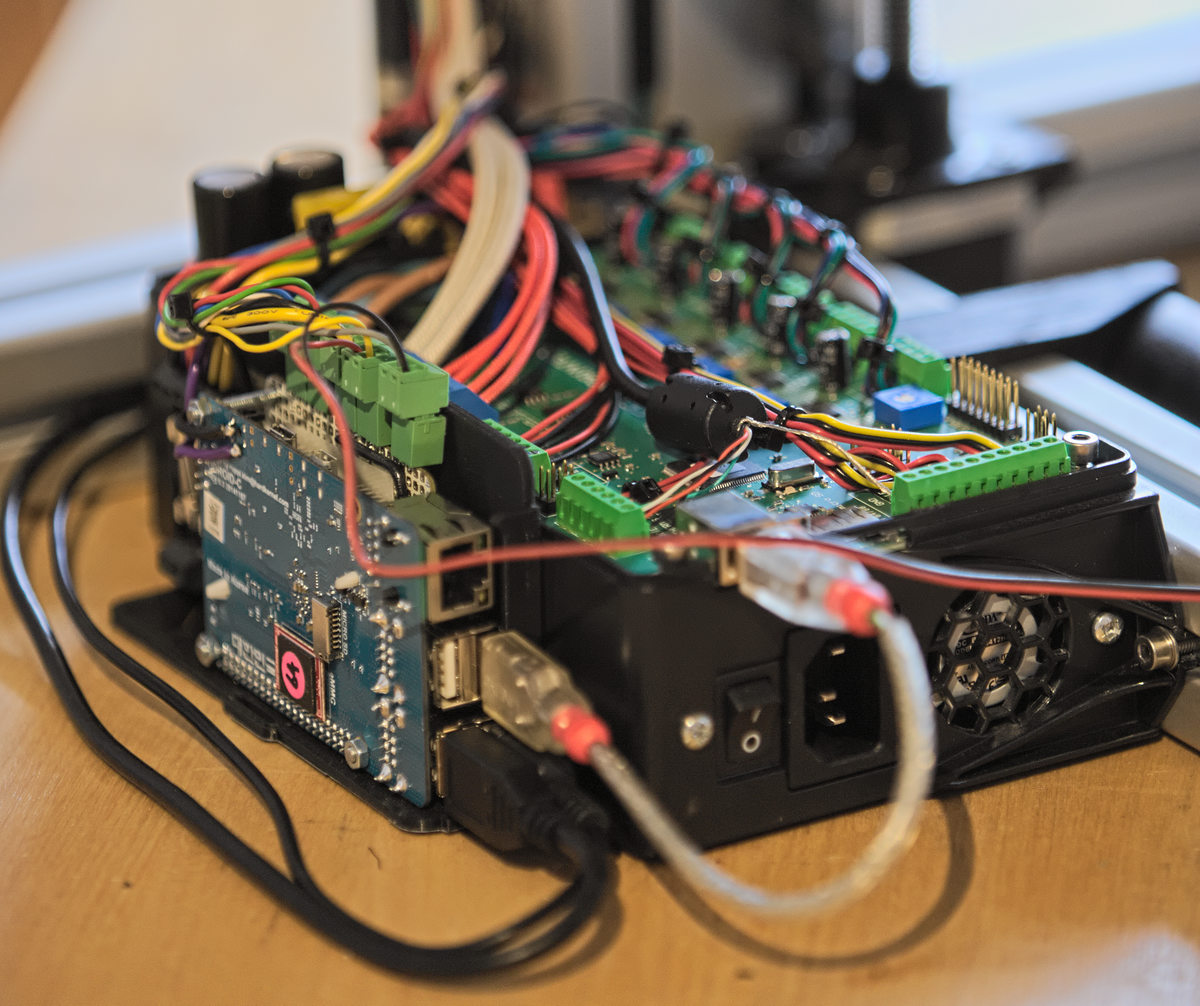
The RGBW Status led is controlled directly via C1 GPIOs. With the power of 4 cores, the timelapse videos are no longer mjpgs since the C1 leaves enough reserves to render the videos with high quality x264 compression. A perfboard was strapped onto the the Odroid C1, for internal power distribution, additional connection terminals, the RTC hack and a couple of MOSFETs, to control the RGB Status LED and the table lighting LED stripe.
By hooking up the Cubieboard2/Odroid C1 to the 5V StandBy (purple) rail of the power supply, the robot is always online and ready to print with minimal power consumption. The full chain of Cubieboard2 (idle), USB Hub, USB Camera and USB Stick for additional storage needed for creation and storage of timelapse videos, draws something between 2 and 2.5 Watt (0.4-0.5A@5V). That's well below the Power Supply's StandBy Rail Maximum Rating of 2A while keeping the printer fully remote accessible. Here are a couple of notes about cross-compiling and installing Gentoo on the Cubieboard.
Mounting
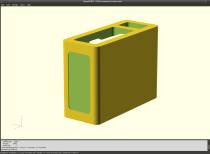
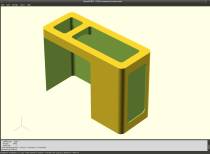
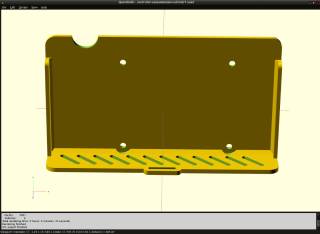
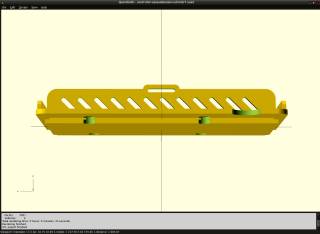
To mount the Odroid C1 permanently on the printer, a new friction tight part was created and printed which replaced the original plastic slide-in plate of the power supply's case with this:
Final Assembly
Cable & WIFI Network Access
The Odroid C1 already provides Ethernet connectivity, which is accompanied by a USB WIFI Stick (embedded at the top of the Status-LED). The system can be configured to either join an existent WIFI network or act as an access point with its own WIFI network, if there is none available or other reasons (like security policies) prohibit connections. This is a great feature for impromptu class/workshop setups, when you can engage your audience to watch and interact with the printer using their own smartphones, tablets and laptops.
Power Buffer/Filter Hack
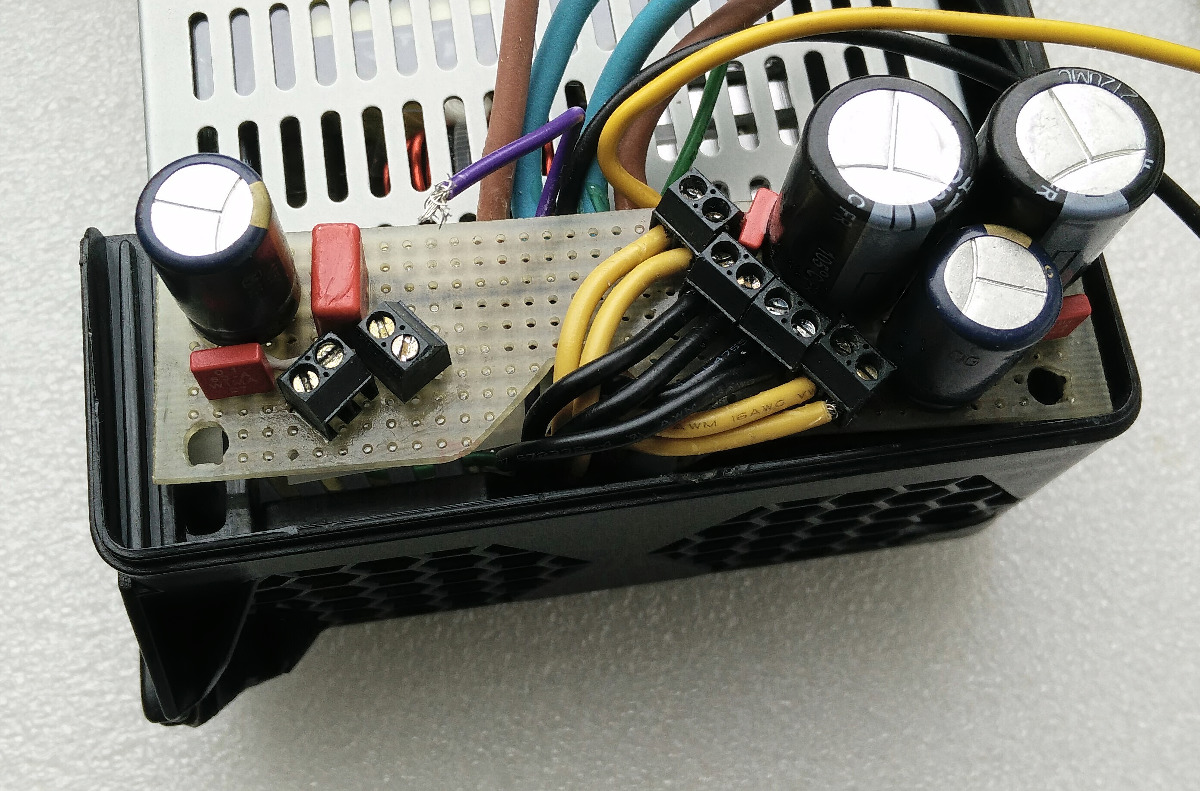
To mitigate PWM switch noise and leave more reserve in edge conditions, we needed something to buffer and filter the 12V and 5V power rails, when the system momentarily peaks, reducing the risk of power supply or general system failures while printing. After the 3.0 update, the power supply casing is longer than the original V2.0 electronics board which leaves about 3 cm of usable space in the case. There was also the issue of power distribution and not making a mess while wiring all additional components. As a result, this quickly hacked perfboard with a couple of capacitors, connection terminals and cables out of the “rests” box emerged:
The Room in the middle of the board is intentionally left empty, otherwise it would be impossible to guide the complete set of cables of the printer through there. The bottom of the perfboard was sprayed with urethane to protect/insulate the connections and a non-conductive plastic sheet was inserted between the power supply's casing (top) and the buffer board to prevent DC rail contact with the grounded casing.
12V Rail
- 2x 2200uF / 25V (LowESR) Electrolyte Cap.
- 1x 1000uF / 25V (LowESR) Electrolyte Cap.
- 1x 100nF 35V
- 1x 10nF 35V
5V StandBy Rail
- 1x 1000uF / 25V (LowESR) Electrolyte Cap.
- 1x 100nF 35V
- 1x 10nF 35V
Auto Power-On/Off
As soon as the Firmware on the Felix Controller Board receives gcode M80, it wakes up the power supply (green PS enable) and the printer is ready to operate. Once the print job is finished, you just send M81 and the system goes back to sleep again, while still offering control interfaces and live camera feed in a browser.
These gcodes can also be comfortably managed directly in Slic3r or Cura, both offer advanced options to add pre/postprocessing gcode to the exported model, so that they always get pre/appended during the workflow for each product.
Cameras
In order to have remote printing/monitoring capabilities it makes sense to use relatively cheap webcams to offer realtime remote monitoring and automatically created timelapse videos of the prints. Once a print is finished, the printer announces its work in a designated IRC channel and provides a link to the timelapse video on youtube: Apollo-NG YouTube channel.
You can also watch the live-feed of the framecam, which was implemented using mjpeg-relay to reduce upstream bandwidth saturation.
Latest 3D Printjob Timelapse Video
Having a microscope headcam could prove invaluable for remote machine operation. As soon as time permits we can begin to modify the head parts to accommodate for the energy chains and to place the microscope as well. It's then connected via USB to the Cubieboard via Linux UVC USB Drivers as well and can be accessed via /dev/video1.
Table Lighting
In order to provide the frame camera with enough light to shoot the timelapse videos, the printer is equipped with its own frame/table light source. This makes remote/autonomous printing possible, keeps the printer independent from room lighting and requires much less energy to light just the table instead of a whole room.
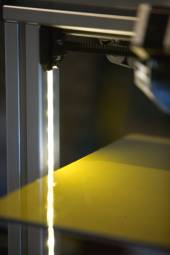
We've used the remains (12 LED's) of a common 5050 type water-resistant warm-white (2800K) 12V LED-Stripe (60 LED/m), connected to the 12V rail of the power supply. When the printer is in StandBy mode, the LED-Stripe is off. It fits perfectly within the slot of the extruded aluminum profile if you put some foam into the slot and then wedge the stripe inbetween the foam and the edges of the slot.
RGB Status LED
Controlled via Python, connected to Cubieboard U14 Pins 1,3,5 (PD0,PD2,PD4) and triggered by OctoPrint Eventhooks to change status.
Open-Source CAD/CAM Software Stack
CAD Modelling
It is important be able to copy, adapt, improve and (re)share any model in order to have a basis for a rich ecopshere of shared models where parts which have already cost time to develop can be used instantly by others instead of re-inventing the same or a very similar part over and over again.
Therefore, we cannot rely on commercial toolkits because that would artificially limit the amount of people who can actually use these files to those, who are actually able to pay licence fees and are willing to deal with dongles, binary code that may contain government enforced trojans and in the end even being forced to install a proprietary OS to use them at all.
At the moment, there are a couple of directly usable open-source CAD toolkits which are noteworthy in the context of 3D modeling/printing and are already in production use here to create and alter the parts we print with this 3D printer.
FreeCAD
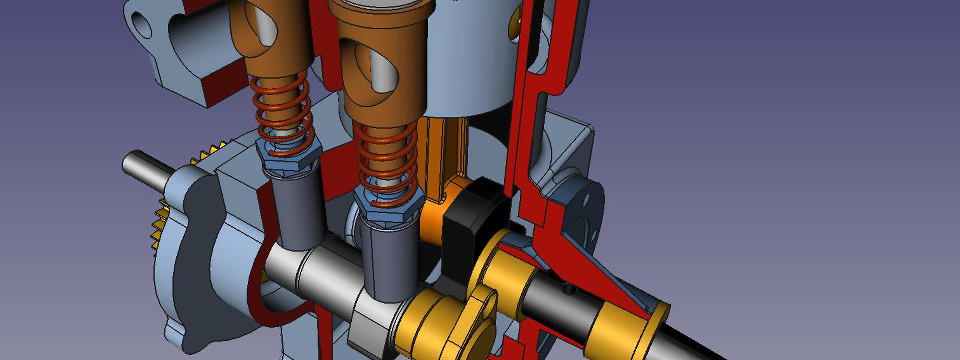
If you prefer to design mostly with a traditional UI and more or less traditional workflows/taxonomies known from proprietary toolkits like Inventor or ProE, try FreeCAD.
It sure still lacks a lot of the goodies the big commercial toolkits offer but you can achieve results with it, some people have already done so impressively.
OpenSCAD
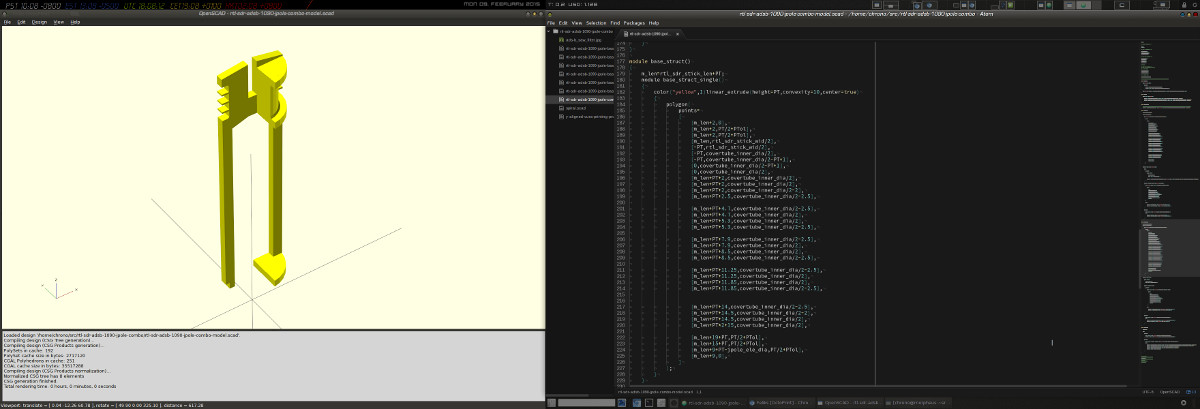
With OpenSCAD, designing parts becomes more like programming where you can keep important parameters in variables and update/switch many aspects of the final product very easily. As a beginner you just have to change a couple of numbers and arrange the specific sub-parts smartly in a simple to learn language.
When you gain more experience, OpenSCAD enables you to build much more complex functions and reusable function blocks to solve common tasks very fast. Another great benefit is of course git interaction, since it's basically just code in a text file. Diffs and managing different versions and revisions becomes very convenient and comfortable as well.
Slicing
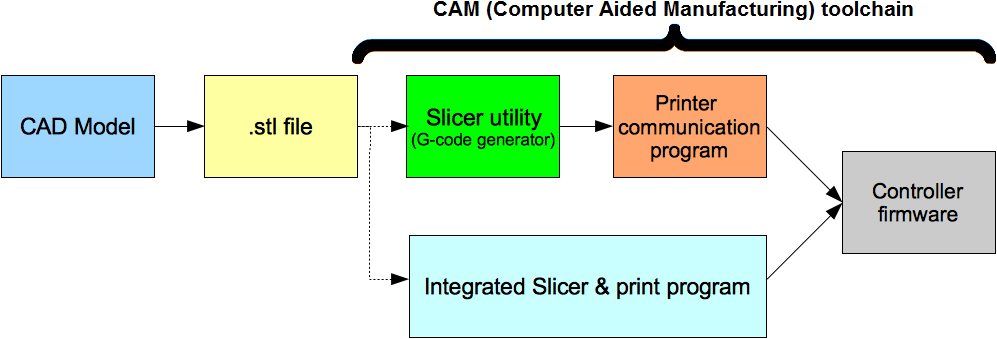
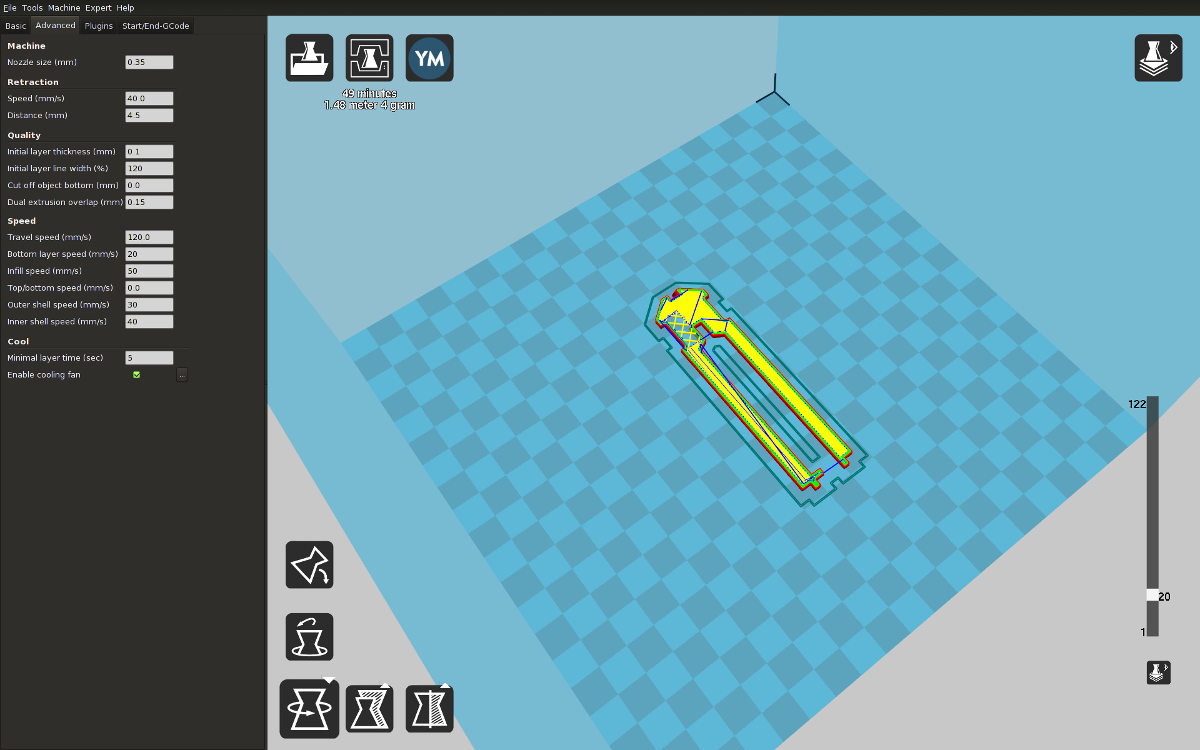
Slicing is the task of analyzing the model and creating GCode which is sent to the Firmware as a print Job. It's one of the most important tasks in the 3D print workflow as it determines how the printer will actually print the final product. Two open-source slicers are being tested and used: Slic3r and Cura.
Common Slicer Settings for Felix 2.0/3.0
| Bed Size | 255 mm x 205 mm |
| Maximum Object Height | 235 mm |
| Nozzle Diameter | 0.35 mm |
| Filament Diameter | 1.75 |
Slic3r
Slic3r was used for all Felix 2.0 single-head slicing jobs and every product we've printed to far. It seems to work well with the original Marlin FW. Slic3r offers a couple of nice features like random seams, firmware retraction and generally a lot of advanced options one may need to reliably control edge case prints, especially with small parts and fine details.
All settings from the UI can be stored in .ini files and later used and combined with other options on the console without a GUI, which makes batch slicing for similar prints very efficient and is easy to script, automate and extend. It also brings an integrated OctoPrint upload feature (via API access) to manage the gcode data transfer automatically.
Cura
Cura is a new open-source slicer, it compiled successfully from source and will be tested with the new 3.0 printer and dual-head printing as well.
Preliminary and totally subjective first impression is that Cura has a very limited (user friendly) UI and renders almost in realtime but Slic3r has a couple of advanced options which yield a considerably higher quality print result (i.e. optional randomness for layer starting points for small shells are tremendously helpful) in comparison to Cura, which always seems to leave a very heavy Z-Scar. More concise tests, with comparable data of the same part, with different slicers vs. different firmwares will have to be made, to come up with a more objective conclusion.
Printing
OctoPrint
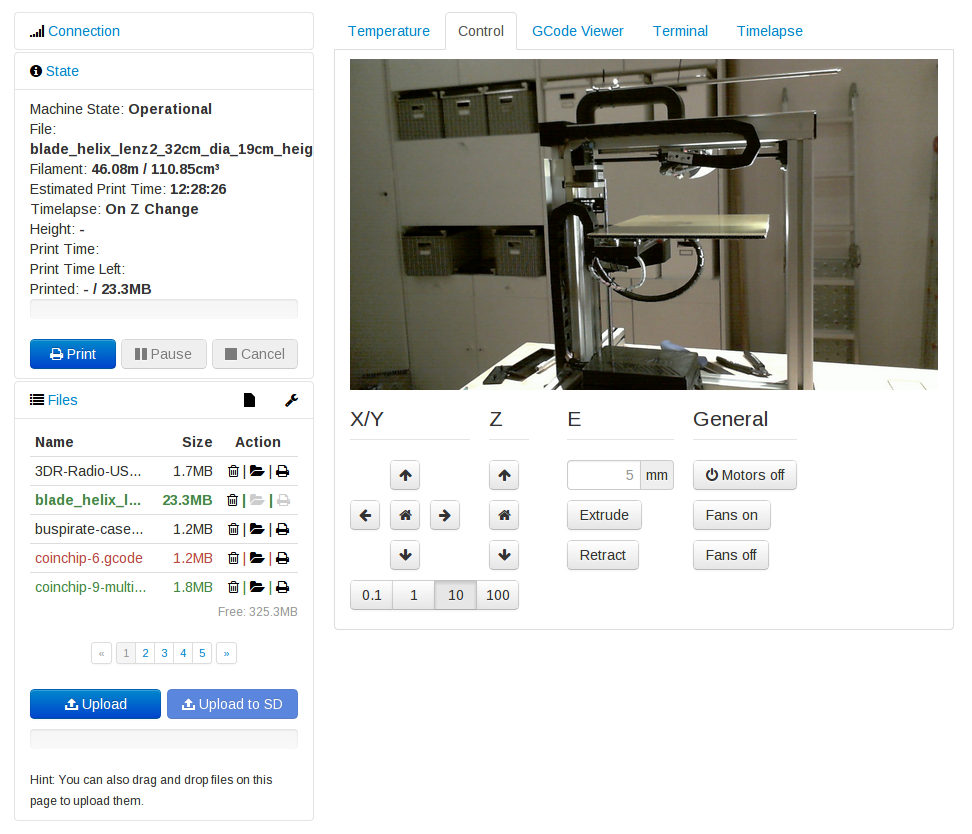
The heavy lifting is handled by OctoPrint, an open-source package based on python and a websocket/HTML5 webclient. GCode files are uploaded via webinterface and then spooled to the Felix Controller Board running Marlin 3D printer firmware via 250000 baud (high speed - low jitter) usb-serial link. It also manages the feed of the webcams and will receive a few GPIO gimmicks in the future as well.
- Web based operation/management → OctoPrint
- M80/M81 gcode commands put printer power supply into standby/wakeup
- Multiple Live-Webcams → Linux UVC drivers + MJPG-Streamer
- Autonomously shoot, convert and upload timelapse videos to Apollo-NG YouTube channel
Monitoring
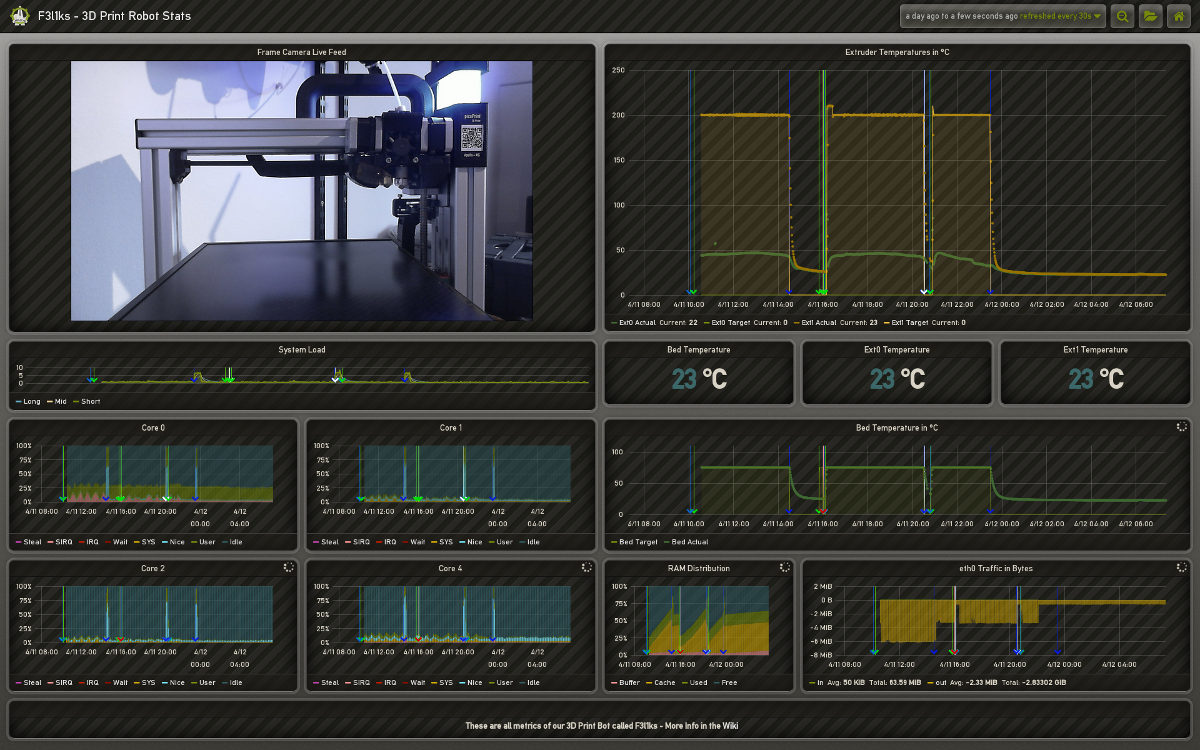
To have more insights and comparable long-term historical data for tuning and debugging, all relevant metrics of the robot are stored and publicly available (live - when having uplink capability) on the F3l1ks - 3D Print Robot Stats Dashboard in the VFCC.
Robot-Firmware
In order to have full control over the robot and all its aspects, like acceleration values and PID tuning unique to this machine and to have a free development ecosphere where alternative firmwares may be developed, shared and easily adapted & installed, it was important to have a controller running an open-source firmware. The original Felix 2.0 printer came with a forked Marlin FW, with the update to 3.0 things seem to have moved to repetier-firmware-0.92 upstream (FELIXrobotics) for dual head support. Marlin support has been added recently.
Workflow
- Get/create a part
- Slice the part with Slic3r
- Export GCode
- Load GCode in simulator
- Load Gcode in OctoPrint
- Print!
TIPS:
- Make sure the bed is level (no problem if you treat the printer gently)
- Make sure the bed is clean (we use isopropanol before each print job)
- Make sure no dust reaches into extruder (install/clean/replace dust scrubber)
- Make sure filament is as dry as possible (we're still looking for good boxes)
- Orient rectangular parts with the long side along the Y axis.
Known good parameters
As a reminder and guide for anyone printing on our Felix as well as to give other people, who may be new to 3D printing, a real world reference/starting point:
| Source | Material | Color | Ext. Multiplier | Extruder °C | Kapton °C | Carbon °C |
|---|---|---|---|---|---|---|
| Felix | PLA | Grey | 1 | 195 | 55 | - |
| NuNu | PLA | White | 0.98 | 210/200 | - | 75 |
| ? | PLA | Black | 0.95 | 200/190 | - | 75 |
| ? | PLA | Transparent | 1 | 200/195 | - | 75 |
